
Imagine the joy of seeing your cat respond to your cues and commands, creating a bond that is both rewarding and fun. You can achieve this with a simple tool: a cat clicker.
If you've ever marveled at how cats can be trained to perform tricks or come when called, this secret weapon might be just what you need. The good news? You can make one yourself. In this guide, you’ll discover how to create a cat clicker from scratch, using materials you probably already have at home.
Not only will this save you money, but crafting your own clicker adds a personal touch to your training sessions. Stick around to learn how this little device can transform your interactions with your feline friend, making training sessions more effective and enjoyable for both of you.
Materials Needed
Gather a small metal jar lid, tape, and a paperclip for crafting a simple cat clicker. These materials are easy to find around the house or at a local store.
Creating a cat clicker at home is a fun and rewarding project. Not only does it engage your creative side, but it also helps build a stronger bond with your feline friend through clicker training. Before you dive into the process, you'll need to gather a few essential materials. These materials are easily accessible and likely already in your home, making this DIY project both convenient and cost-effective.
Materials List
Having the right materials at hand is crucial for making a functional cat clicker. Let’s take a look at what you will need:
- Metal Jar Lid:This will be the main component of your clicker. A lid from a jar of jam or peanut butter works perfectly. Its flexibility and durability make it ideal for creating that distinctive clicking sound.
- Plastic Bottle Cap:You can use any standard plastic cap. It will serve as the button to press, creating a consistent click when pressed against the metal lid.
- Adhesive Glue:A strong adhesive is necessary to bond the plastic cap to the metal lid securely. Make sure it’s suitable for both metal and plastic surfaces.
- Elastic Bands:These are optional but can provide additional grip and tension. They help in achieving a firmer press when using the clicker.
Choosing The Right Jar Lid
The type of jar lid you choose can affect the sound of the click. Consider testing a few different lids to find one with the sound you prefer. I once used a lid from a coffee can and found its deeper tone caught my cat’s attention more effectively.
Selecting The Plastic Bottle Cap
Ensure the bottle cap is small enough to fit comfortably in your hand. A cap from a water bottle is usually a good size. You want to be able to press it easily without straining your fingers.
Using Adhesive Glue Safely
Glue safety is paramount. Use it in a well-ventilated area to avoid inhaling fumes. Also, make sure it dries completely before using the clicker. A quick-drying glue can save you time and make the process smoother.
Elastic Bands For Extra Support
Elastic bands can be added around the clicker’s edge for better grip. If you have slippery fingers, this little addition can make a big difference in handling. It also adds a touch of customization to your homemade clicker. Now that you have your materials ready, you're all set to start crafting your very own cat clicker. Each element plays a role in creating a tool that will help you train and interact with your cat more effectively. So, are you ready to begin this exciting DIY journey?
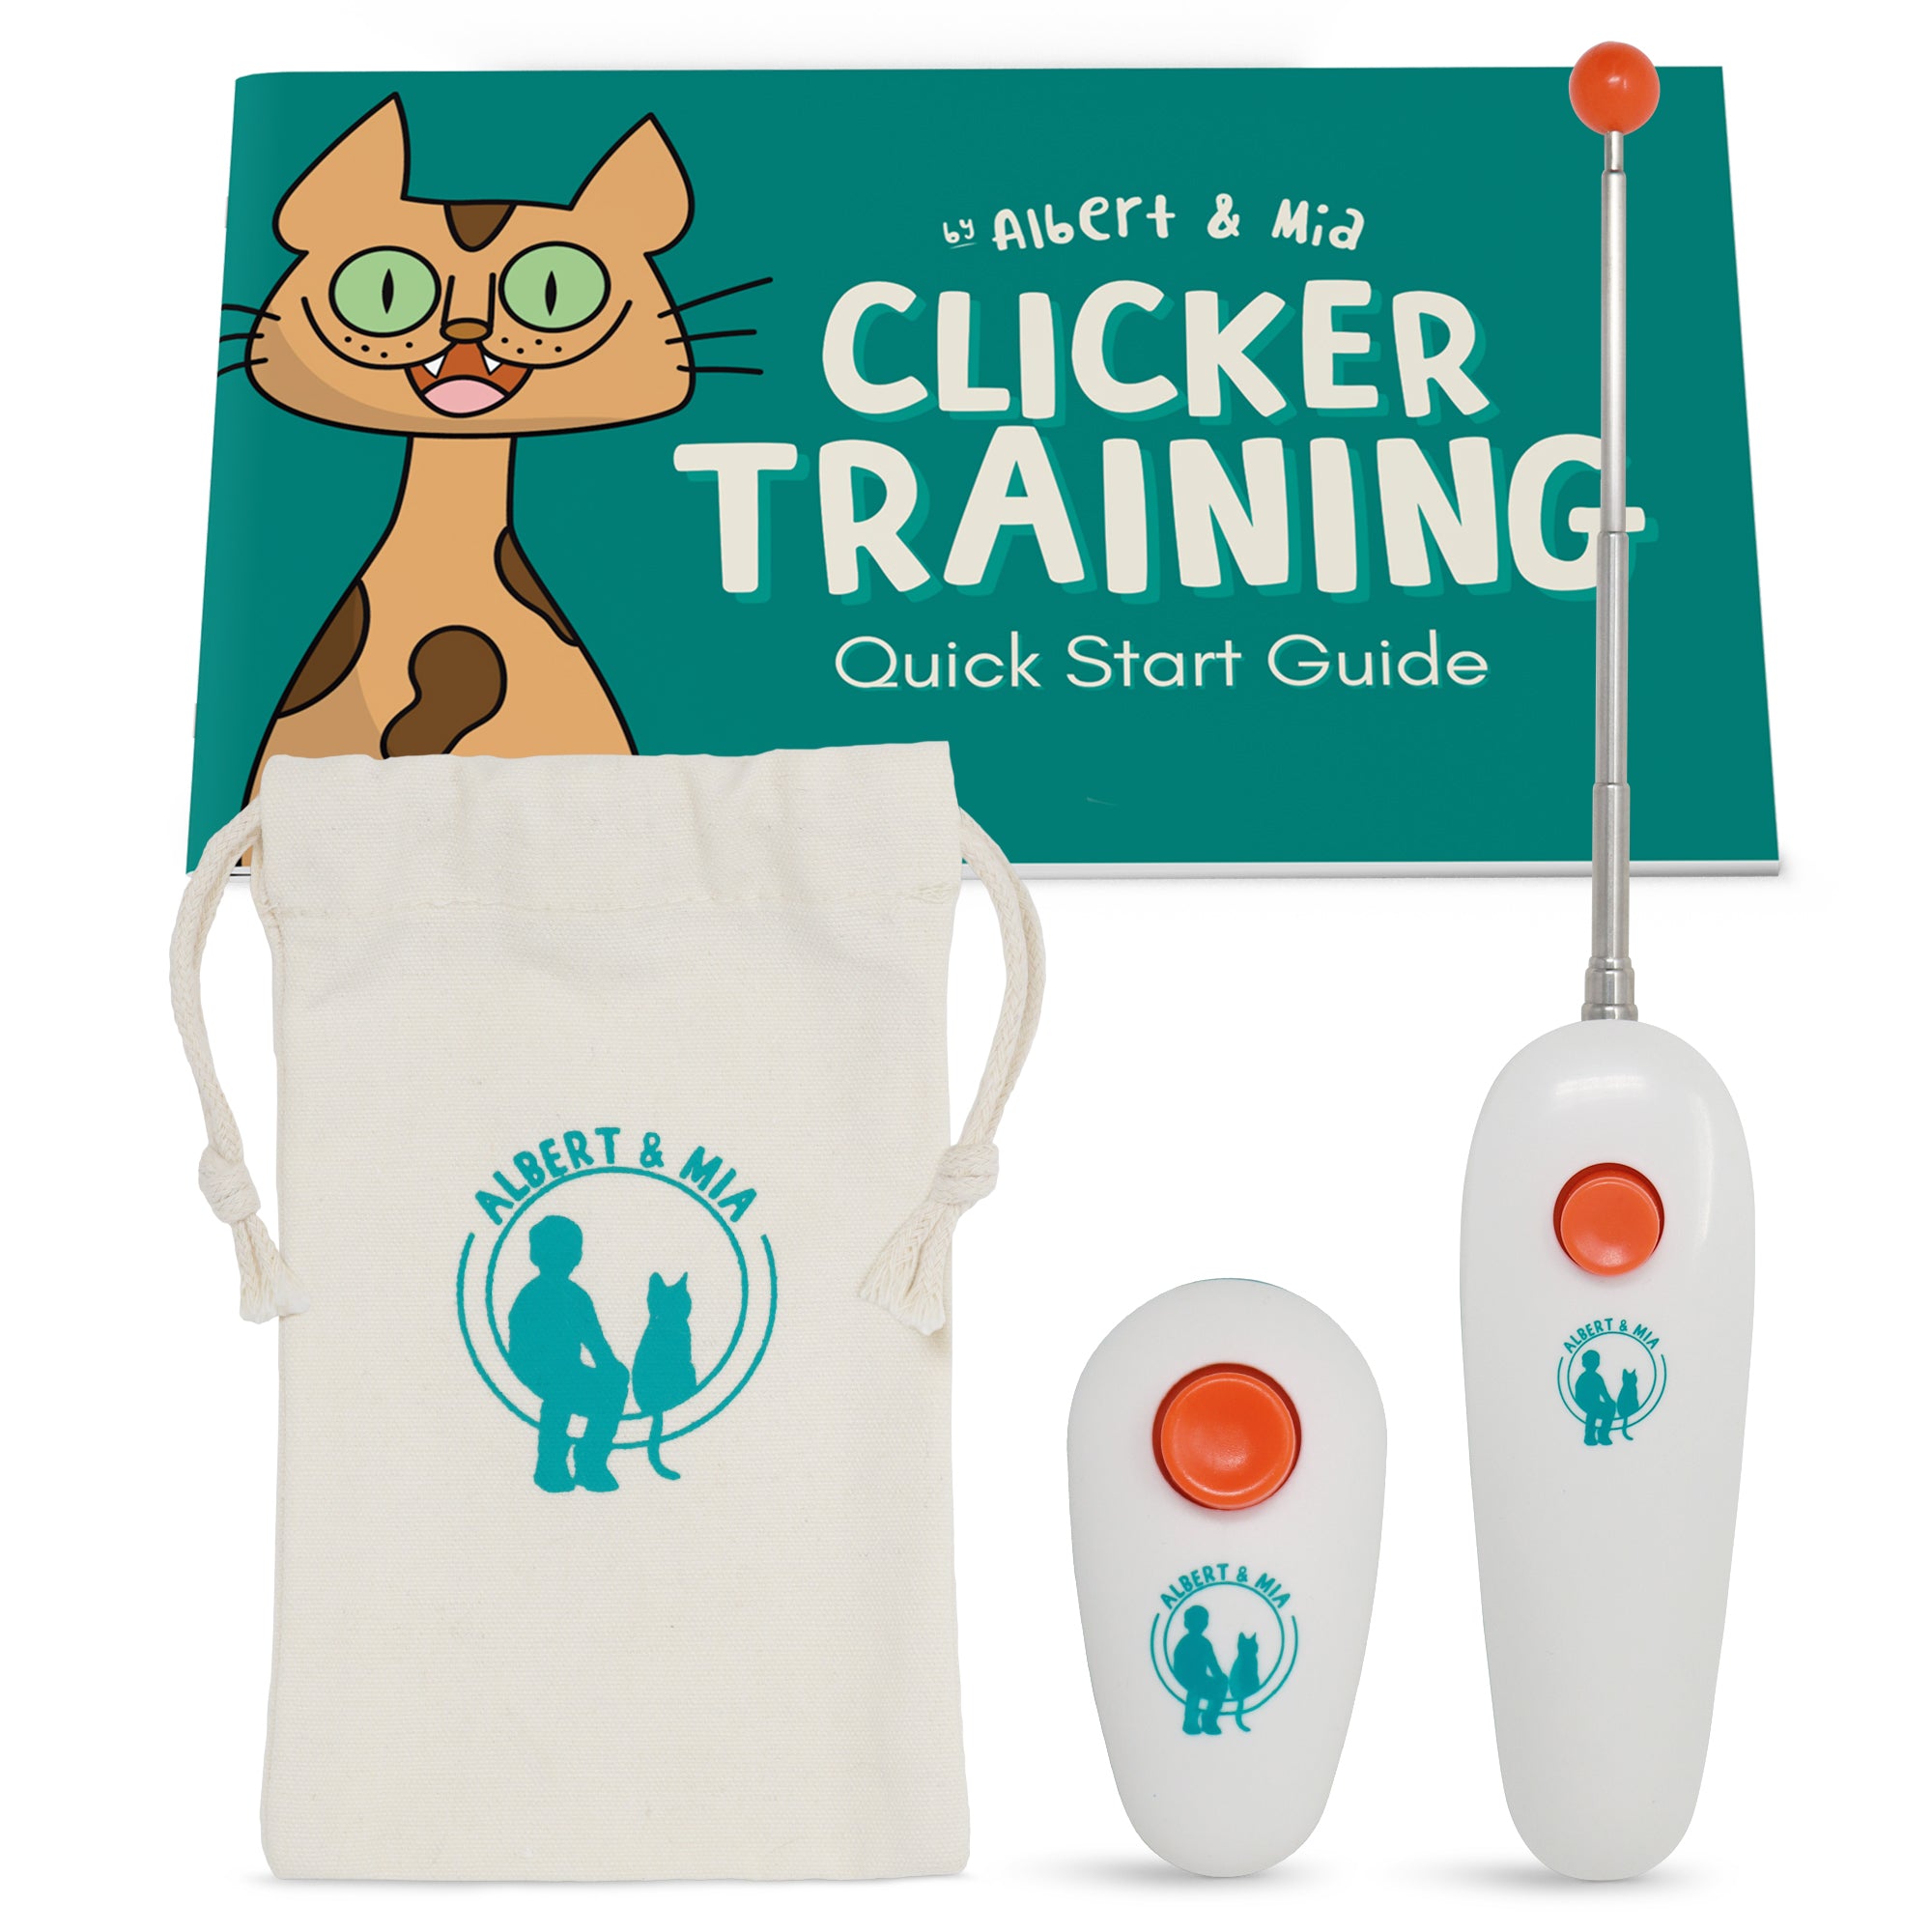
Credit: www.catschool.co
Choosing The Right Clicker
Choosing the Right Clicker Crafting a cat clicker involves selecting materials like plastic or metal for durability. Ensure a comfortable grip and clear sound to capture your cat's attention effectively.
Choosing the right clicker for your cat training journey can make a significant difference. It's not just about picking any device off the shelf; it's about finding one that suits both you and your feline friend. A good clicker enhances communication, making the training process smoother and more enjoyable.
Understanding Clicker Types
Clickers come in various shapes and sizes, each with unique features. Some are basic with a simple button mechanism, while others offer adjustable sound levels. Consider what might work best for your cat's sensitivity and your convenience.
Sound Clarity And Volume
The clarity and volume of the click are essential for effective training. Too loud, and it might scare your cat; too soft, and it could be ignored. Test the clicker before buying to ensure it has a crisp, audible sound that grabs your cat’s attention without causing distress.
Durability And Build Quality
A well-built clicker will withstand the rigors of training sessions. Opt for one made of sturdy materials that can endure drops or rough handling. Check for user reviews or personal recommendations about the clicker's longevity.
Portability And Ease Of Use
A compact clicker that easily fits in your pocket or attaches to a keychain is ideal. You want something that's simple to use, especially if you're juggling treats and a playful cat. Look for clickers with ergonomic designs that suit your hand comfortably.
Personal Experiences Matter
When I first started clicker training with my cat, I chose a bulky one that made a harsh sound. It didn’t take long to realize my mistake as my cat darted away each time it clicked. Switching to a softer, handheld option made all the difference. What has your experience been? Choosing the right clicker is a pivotal step in your cat's training adventure. Let these insights guide you to an informed decision that benefits both you and your feline companion.
Step-by-step Assembly
Create a cat clicker with a simple metal bottle cap and a small piece of metal. Press the metal piece inside the cap to produce a clicking sound. This easy tool can help train your cat effectively.
Creating a cat clicker at home can be a rewarding DIY project, especially if you love hands-on crafts that benefit your furry friend. By assembling your own clicker, you ensure it's tailored perfectly for you and your cat's training sessions. Plus, understanding the mechanics behind it can give you a newfound appreciation for even the simplest tools. Let's dive into the step-by-step assembly process to create a clicker that will have your cat meowing in anticipation.
Preparing The Clicker Base
First, gather your materials. You'll need a small piece of sturdy plastic or metal for the base, like an old credit card or a soda can tab. Cut it to a manageable size, about two inches long and one inch wide. Ensure the edges are smooth to avoid any accidental scratches. Sandpaper or a nail file works wonders for this. Think about how you want to hold the clicker. Some people find that attaching a small loop of string or elastic makes it easier to handle. This simple addition can make all the difference during training.
Attaching The Clicking Mechanism
The clicking mechanism is the heart of your clicker. A small, flexible metal strip works best for producing the desired sound. You can repurpose a strip from a metal tape measure or even use a sturdy paperclip. Bend the metal strip into a slight curve. This curvature will allow it to snap back when pressed, creating that satisfying click sound. Secure the metal strip to the base using strong adhesive. Make sure it's positioned so that pressing it with your thumb creates a clear, audible click.
Securing The Components
Once everything is in place, it's crucial to secure all components for durability. You don’t want your clicker falling apart mid-training! Use a durable adhesive or even small screws to attach the metal strip firmly to the base. Double-check that all pieces are tightly fastened. Test the clicker multiple times. Ensure that each press produces a consistent click. If not, adjust the metal strip's tension or the adhesive points until it works perfectly. Have you ever wondered why a simple click can have such a profound impact on cat training? By creating your own clicker, you gain insight into the power of consistency and sound in shaping behavior. Now, with your homemade clicker in hand, you're ready to build a stronger bond with your feline companion through effective training sessions.

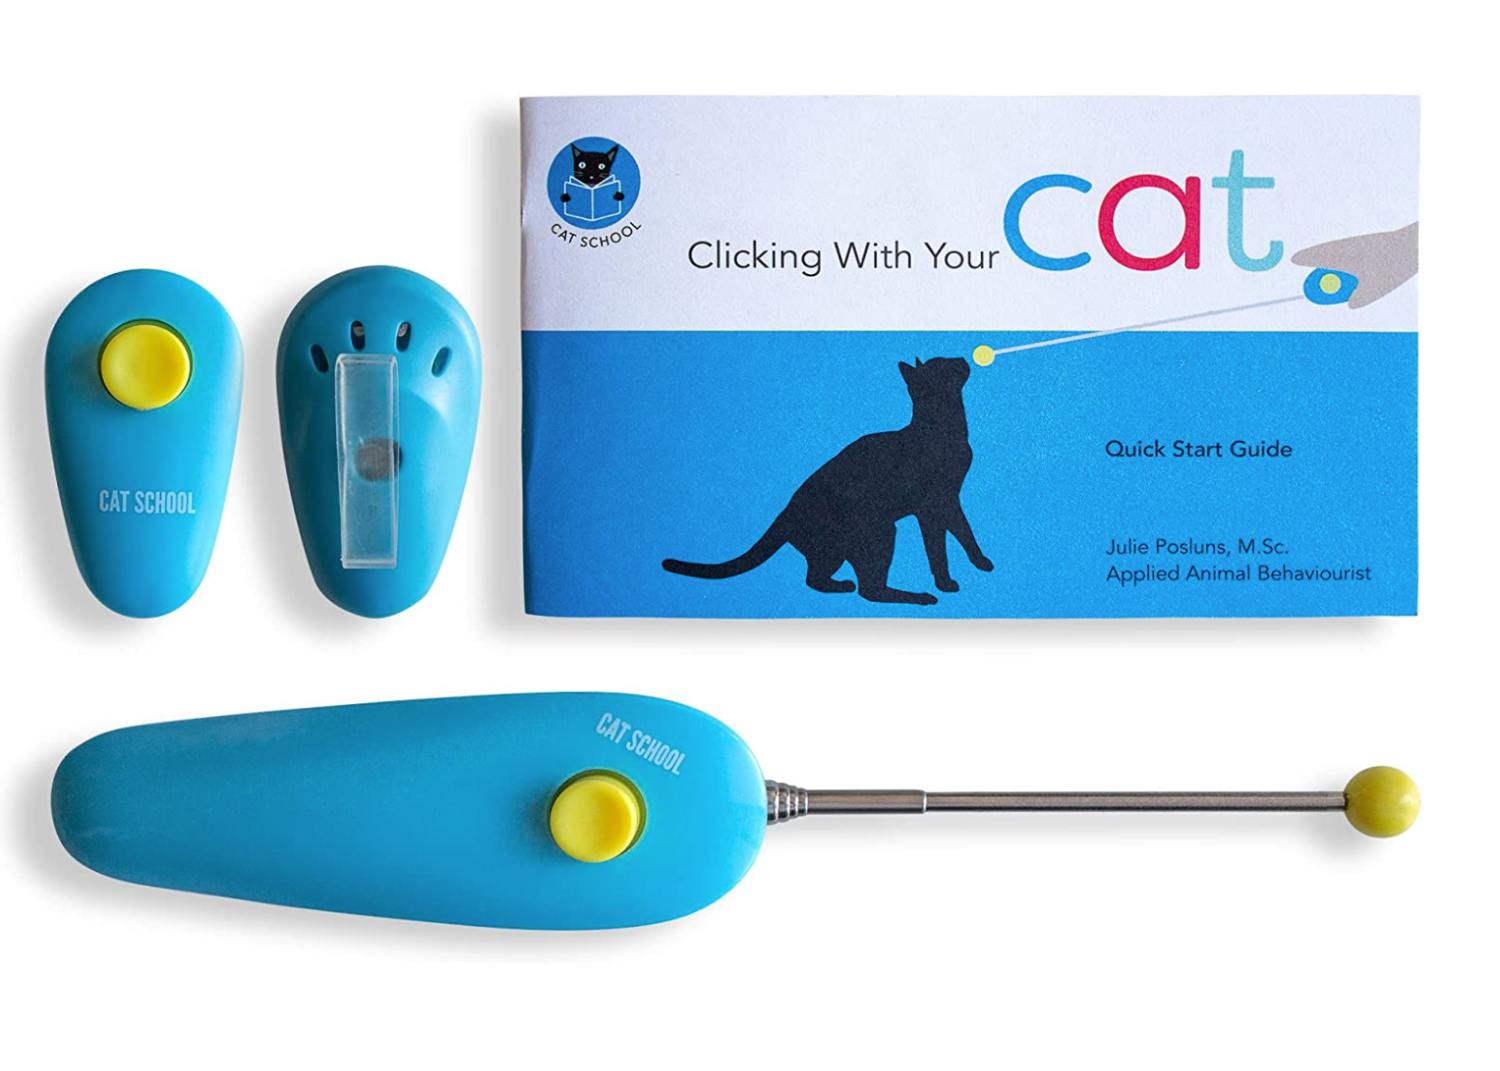
Credit: www.outdoorbengal.com
Customizing Your Clicker
Customizing your cat clicker can make it more personal and durable. You can add unique touches that reflect your style. These modifications can also enhance its longevity, ensuring it lasts through many training sessions. Let's explore ways to personalize and strengthen your cat clicker.
Adding Personal Touches
Personalizing your cat clicker is a fun activity. You can use stickers to add charm to your clicker. Paint your clicker with vibrant colors to make it stand out. Consider using markers for intricate designs. Attach a small charm or trinket to the clicker for added flair. You can even engrave a special message or your cat's name. Creativity makes the clicker unique and special.
Enhancing Durability
Durability ensures your clicker withstands daily use. Opt for high-quality materials like metal or tough plastic. Reinforce weak spots with tape or glue. You can use a protective case to shield it from falls. Waterproofing sprays can guard against moisture damage. Regular cleaning prevents wear and tear. These steps make your clicker last longer. It's built to endure rigorous training.
Troubleshooting Common Issues
Creating a cat clicker can be simple, yet some issues might arise. Ensure the clicker is loud enough for your cat to hear. If the clicker is too soft, try using a small metal cap or bottle cap for a clearer sound.
Troubleshooting Common Issues Creating a cat clicker can be fun. Sometimes it doesn't work perfectly. Here are common issues you might face. We'll help you solve them.
Clicker Not Working
A clicker not making sound can be frustrating. Check if the button is stuck. Sometimes dust can block it. Use a small brush to clean it. Ensure the clicker is assembled correctly. Parts might be misaligned. Reassemble it carefully. Check if the spring inside is broken. Replace if needed.
Weak Clicking Sound
A weak sound can confuse your cat. Check the material used. Some materials absorb sound. Use metal or hard plastic. Ensure the clicker is tightly sealed. Loose parts can muffle sound. Adjust and tighten them. Inspect the spring. It might need replacement for a stronger click.
Training Tips With Your Diy Clicker
Training your cat with a clicker can be a rewarding experience for both you and your feline friend. Once you have crafted your DIY clicker, it's time to dive into the fun world of clicker training. These training tips will help you use your homemade clicker effectively, making the process enjoyable and successful.
Introducing The Clicker To Your Cat
Start by associating the click sound with something positive. Hold the clicker and a few of your cat's favorite treats. Click the device and immediately offer a treat. Repeat this a few times, ensuring your cat links the sound with a reward.
Keep sessions short. Cats can lose interest quickly, so aim for 5 to 10 minutes. Always end on a positive note, with your cat receiving a treat.
Observe your cat's reaction. Does the clicker sound surprise them, or do they seem curious? Adjust the volume if necessary. Your cat should be comfortable and interested, not startled.
Effective Clicker Training Techniques
Begin with simple commands. Encourage your cat to sit or touch your hand. Click and reward instantly when they perform the action. Consistency is key, so make sure you click at the exact moment they do the behavior.
- Consistency: Click only when the desired action is performed.
- Timing: Click at the precise moment of the action.
- Patience: Allow your cat time to understand the link between the click and reward.
Gradually introduce more complex tricks. Once your cat masters basic commands, try teaching them to fetch a toy or jump through a hoop. Break down these tasks into smaller steps and reward each progress with a click.
How do you keep your cat motivated? Rotate treats to maintain interest and enthusiasm. Your cat will look forward to training sessions if they know there’s a tasty reward waiting.
Maintaining Your Clicker
Maintaining your cat clicker ensures it remains effective and long-lasting. A well-maintained clicker enhances your training sessions by delivering clear, consistent sounds. Just like any other tool, your clicker needs regular attention to keep it in top shape.
Regular Cleaning
Dust and grime can accumulate on your clicker, affecting its sound quality. Wipe the clicker with a soft, damp cloth to remove any dirt. Avoid using harsh chemicals as they can damage the clicker. Consider using a cotton swab for cleaning the small crevices, ensuring no residue is left behind. A clean clicker not only works better but also looks more professional during training sessions.
Checking For Wear And Tear
Over time, constant clicking can cause wear and tear. Check the button's responsiveness regularly. If it feels sticky or makes a muffled sound, it might be time for a replacement. Inspect the casing for cracks or any signs of damage, which could affect its durability. A clicker in good condition provides consistent feedback, helping your cat learn faster.
By dedicating a few minutes to these maintenance tasks, you ensure that your clicker remains a reliable tool in your cat training arsenal. Have you ever noticed your clicker losing its sharp sound? Perhaps it's time to give it a little TLC.
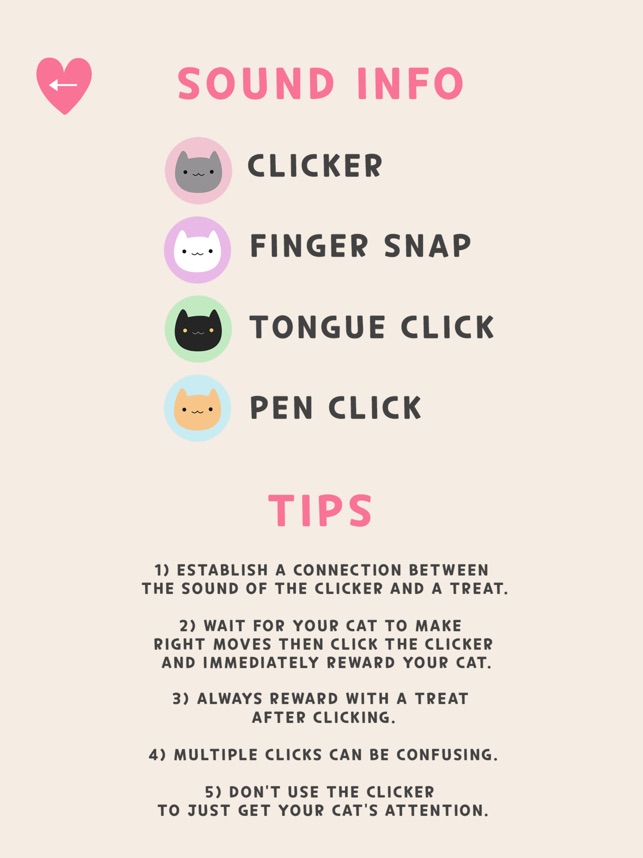
Credit: apps.apple.com
Frequently Asked Questions
What Can I Use Instead Of A Cat Clicker?
You can use a pen, a jar lid, or your voice as a cat clicker alternative. Each option provides distinct sound cues, aiding in effective training. Keep the sound consistent for better results.
How To Make A Homemade Clicker?
Use a metal bottle cap and drill a small hole in the center. Thread a metal washer and nut onto a bolt and insert it through the cap. Tighten the nut and washer to secure. Press the cap to produce a clicking sound.
Is Clicker Training Bad For Cats?
Clicker training is not bad for cats. It can positively reinforce desired behaviors. Cats enjoy the mental stimulation and rewards. This method strengthens the bond between you and your cat. Ensure sessions are short and engaging to maintain your cat's interest.
How To Teach A Cat With A Clicker?
Begin by associating the clicker sound with treats. Click and reward immediately. Gradually introduce simple commands. Reinforce positive behavior consistently. Practice regularly for effective learning.
Conclusion
Crafting a cat clicker is simple and rewarding. With basic materials, you create a fun tool for training. Remember, patience is key with your furry friend. Practice in short sessions to keep your cat engaged. Over time, your cat will respond eagerly to the clicker.
This strengthens your bond and improves communication. Consistency helps build trust and understanding. Enjoy the process and celebrate small victories. A well-trained cat leads to a happier home. Happy clicking, and may you and your cat enjoy many successful sessions together!